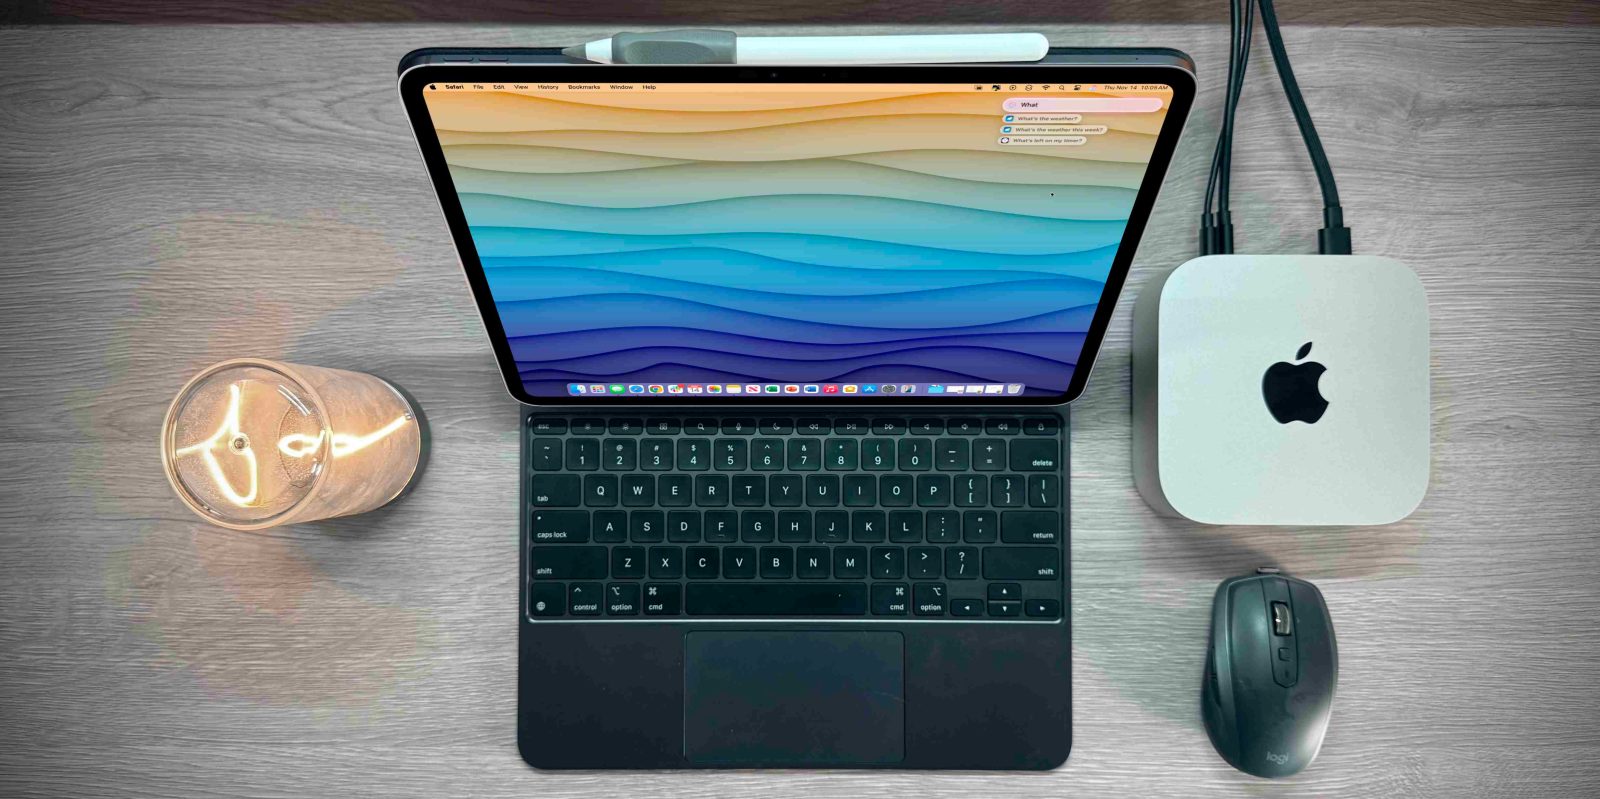
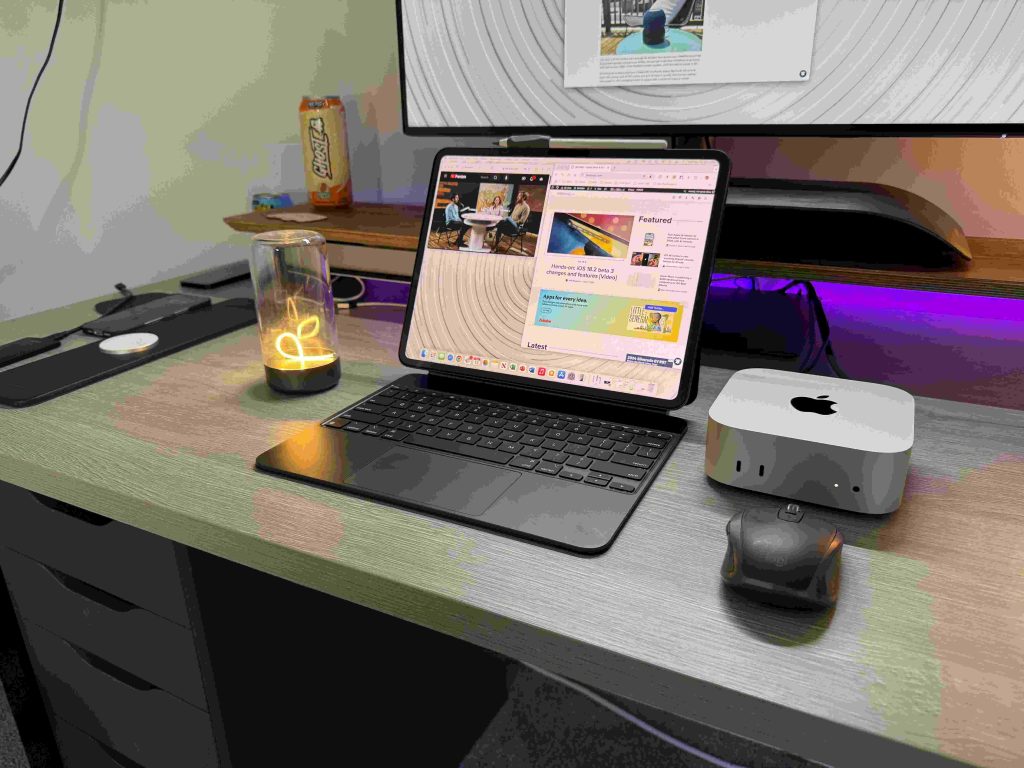
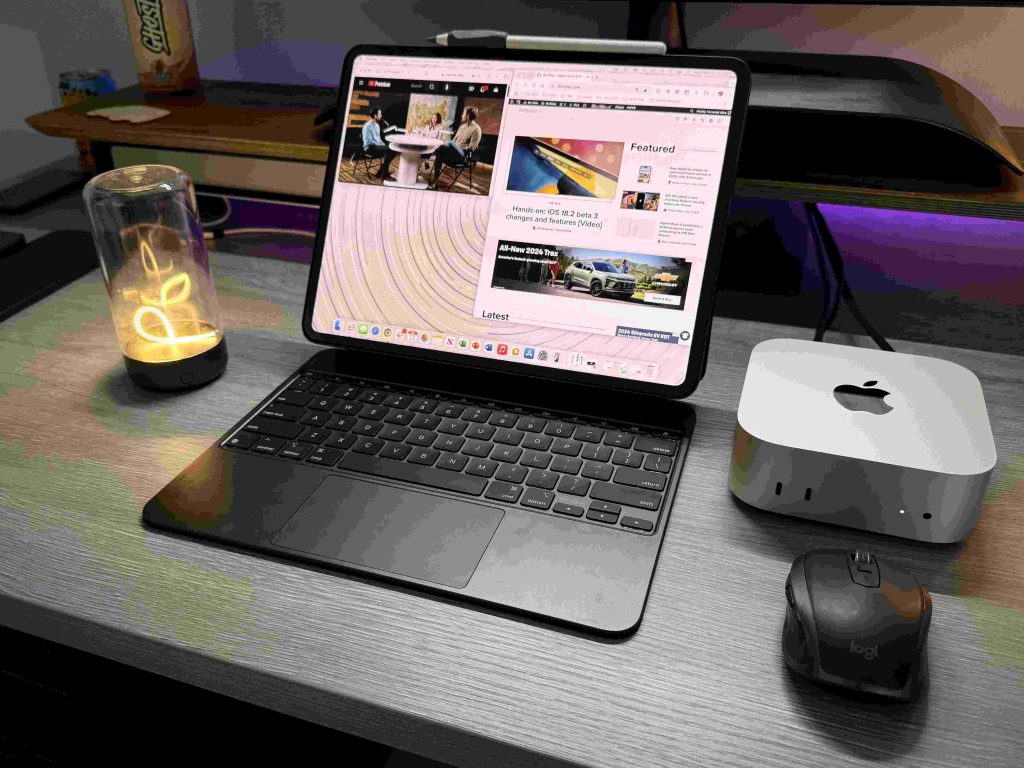
It seems as though the launch and reception of the new M4 Mac mini has been a hit. The combination of sheer power, the tiny size, and, most importantly, the price point is something we really have not seen before. For under $550, on Amazon, its something that just cannot be overlooked. But the new form factor has people drooling at the idea of using the Mac mini as a portable computing solution. So the next question is, can you use your iPad as a mobile display for a Mac mini mobile setup? The answer is yes, and there are two ways to do it!
I go in depth and hands on with these two methods in the video below. I recommend checking the video to get a step by step guide for each!
Method 1: iPad as dummy display
You might have read a post from a few months back about how to use your iPad as a dummy display for your game consoles. We now take that idea, but bring it over to the Mac mini and it works flawlessly.
What you need:
- MacOS computer
- Any iPad wth USB-C (does not have to be the iPad Pro)
- HDMI to USBC capture card (There are a few to choose from but this is the one i have tested that works 100% of the time)
- Regular HDMI cable (Anker makes a great reliable one, or just use what you already have)
- The Orion App (Its Free)
How to get setup
Once we have everything we need, the rest is easy.
- Open the Orion App
- Plug your HDMI cable into the HDMI capture card
- Plug the USB-C side of the capture card into the iPad
- Turn on the Mac mini
- Your Mac mini is now using the iPad display as a portable HDMI display!
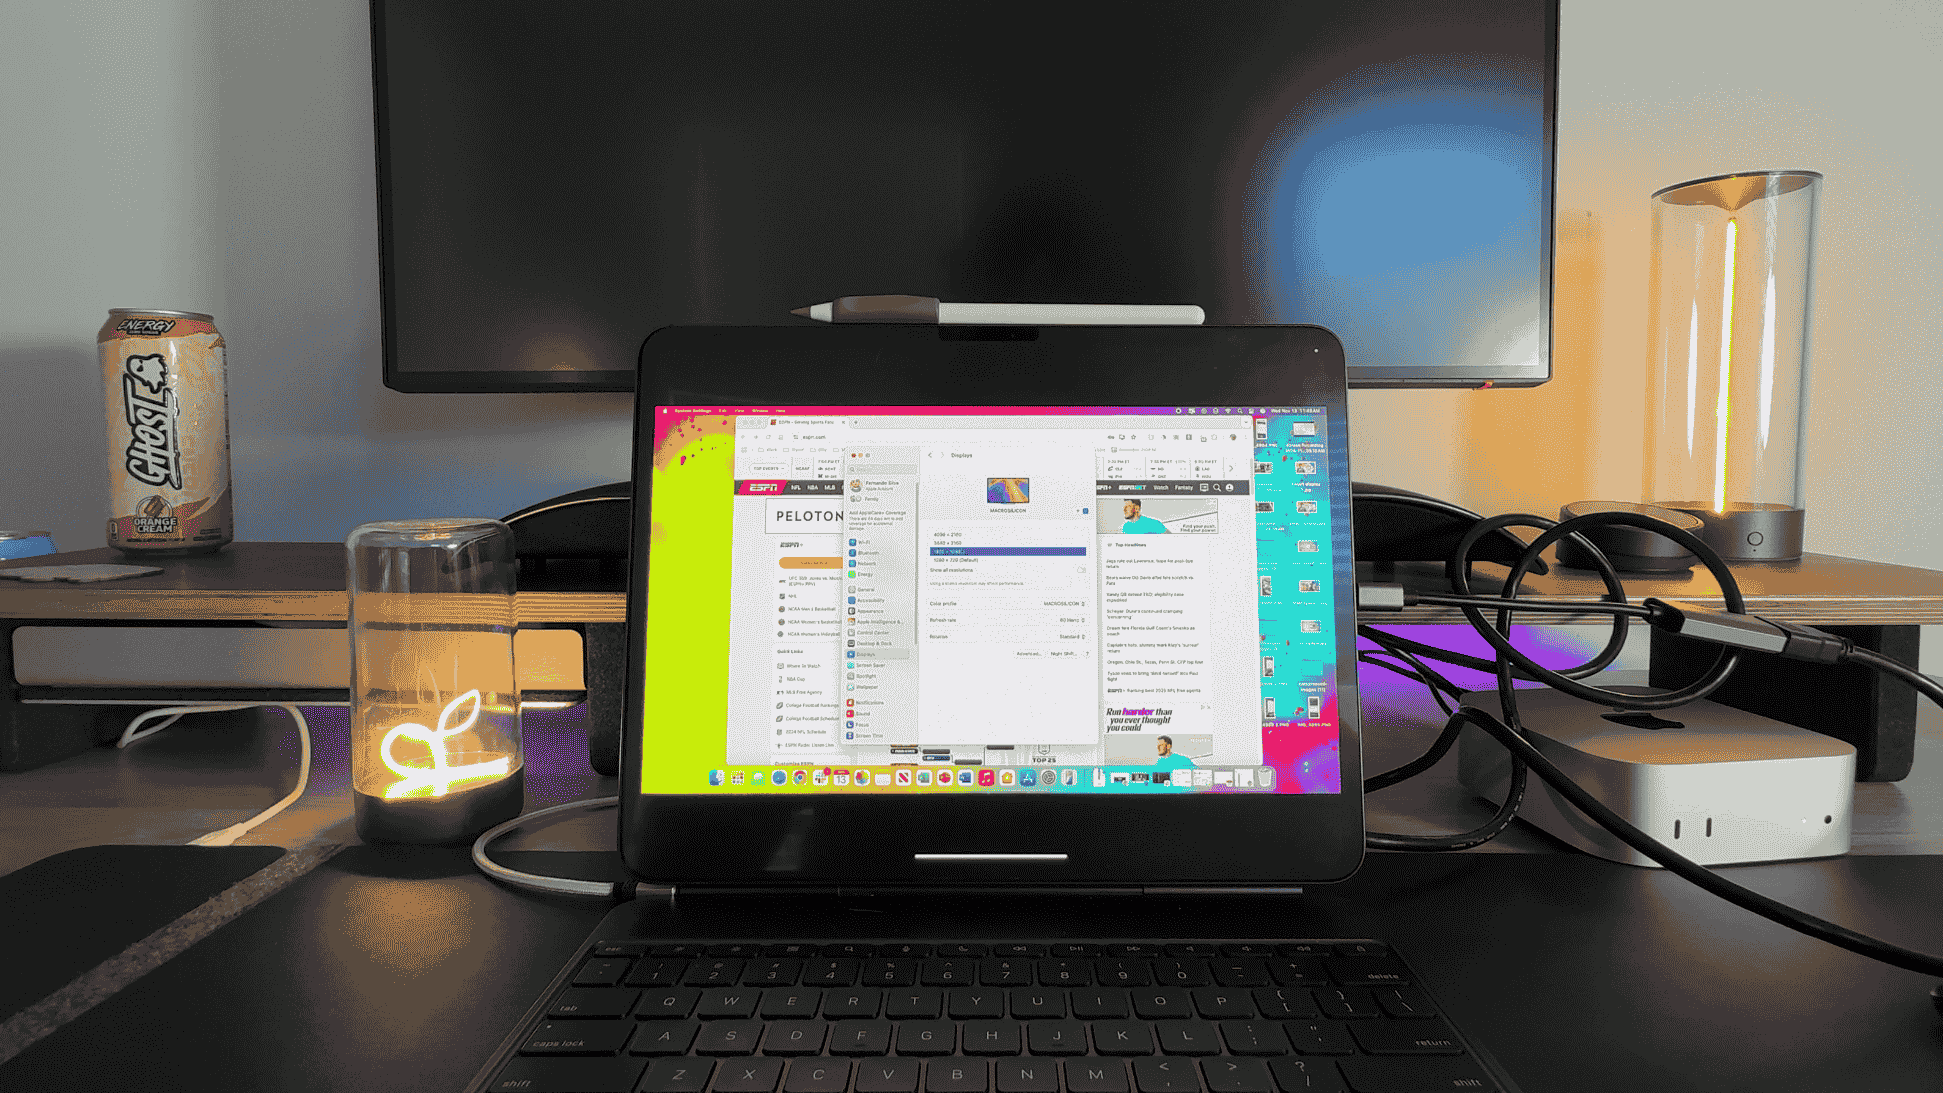
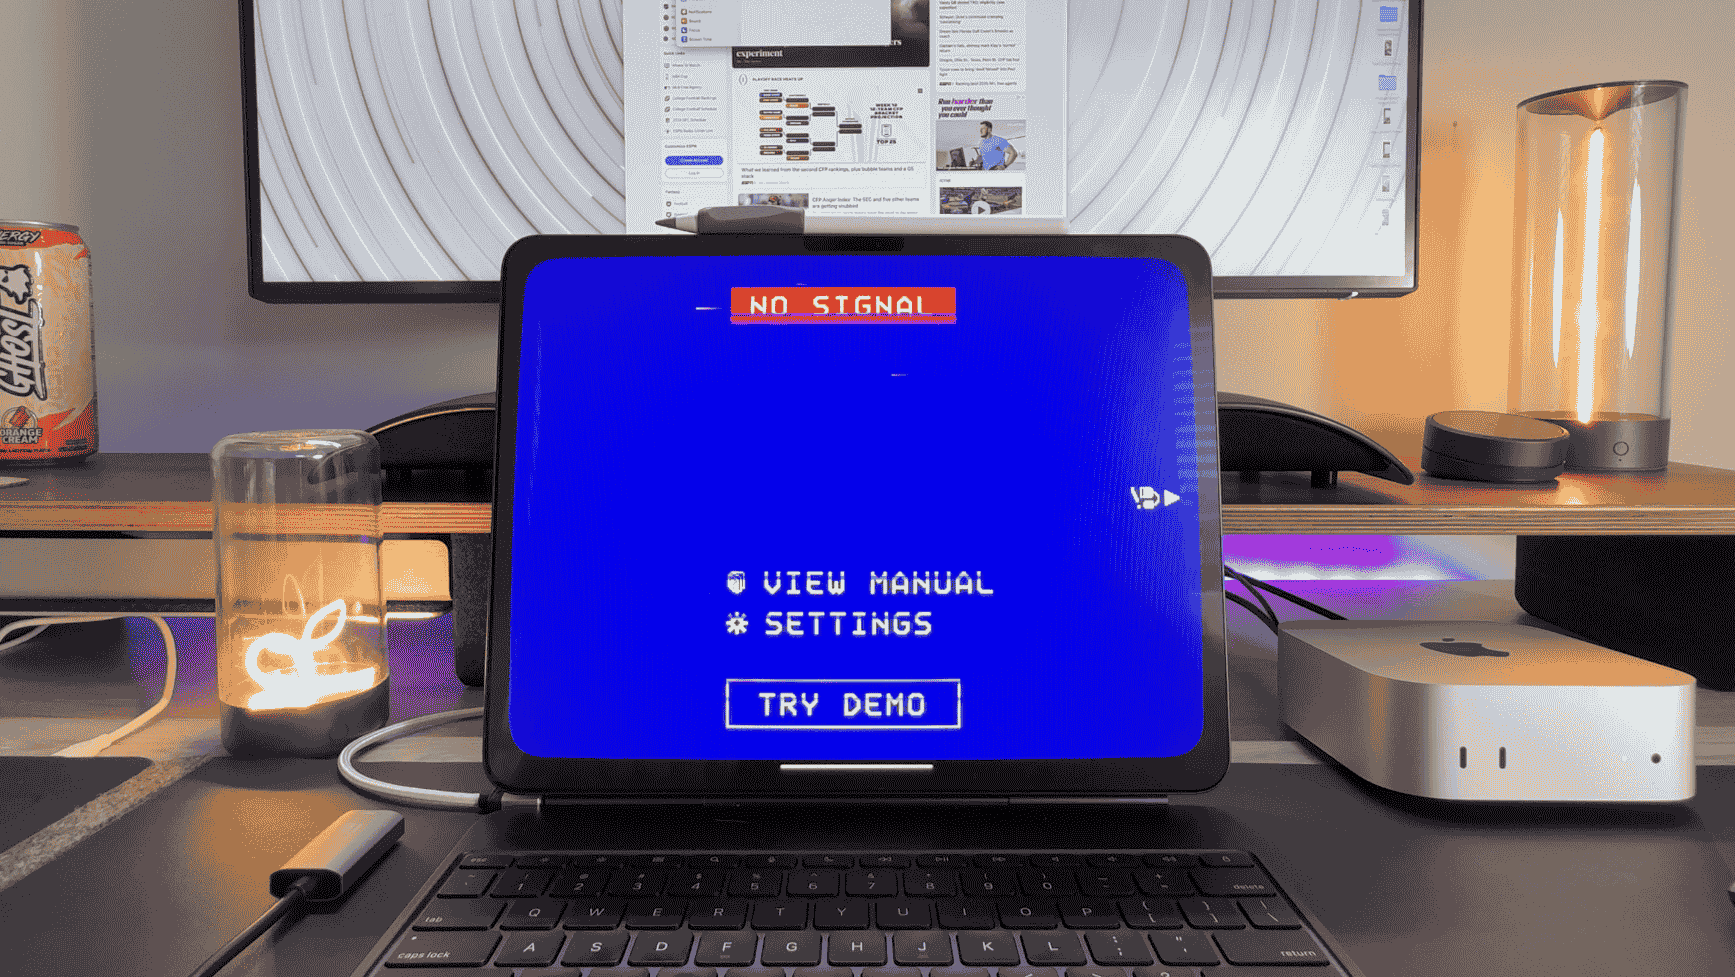
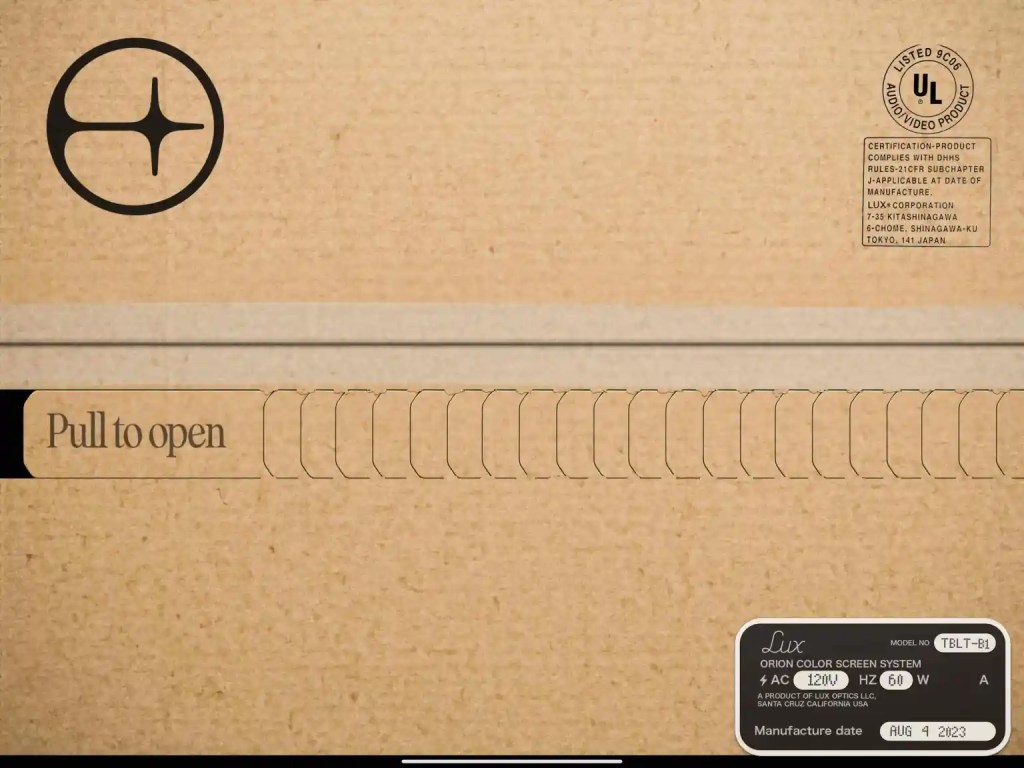
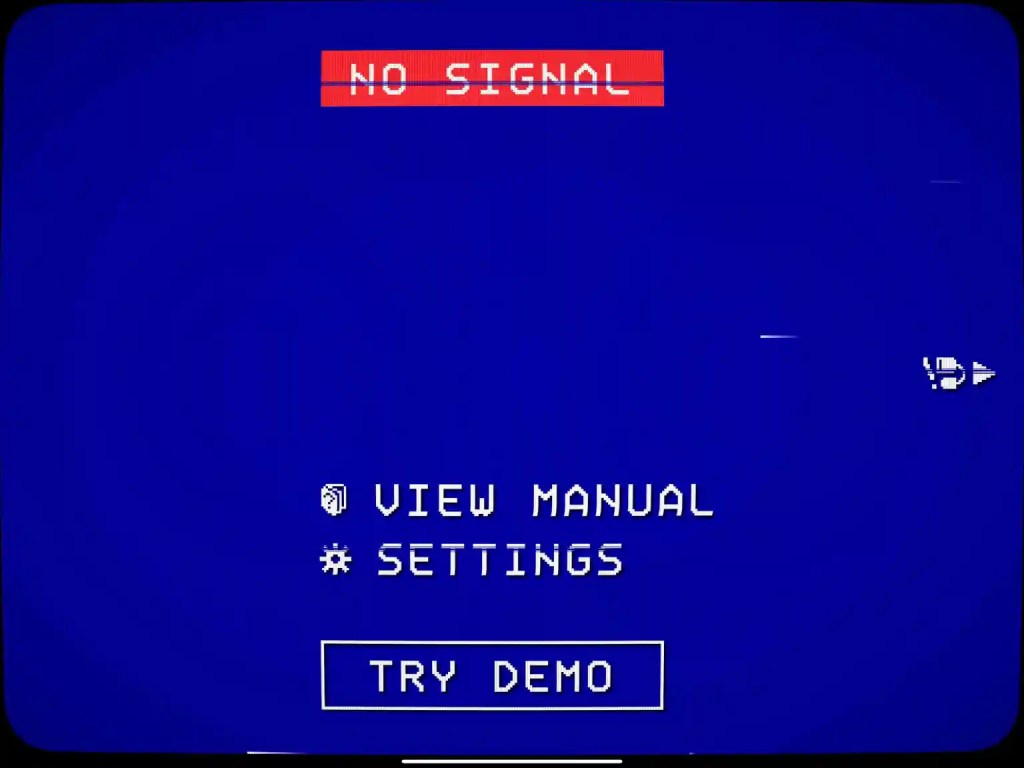
The Orion app and the HDMI capture card are the heart and soul of this experience. The app has a great look, giving off a cool retro vibe! The free version is more than enough for normal use. It supports 1080p, lets you enjoy the awesome sound from your iPad speakers, and even has some fun CRT filters. While the capture card gives you a cheap and reliable solution to get this done easily!
Method 2: Continuity
While this method will be the easiest, the one downfall is that you need to already have the Mac mini setup in order for this to work. But this a great way to see what MacOS looks like running on an iPad. So I wanted to include this.
What you need:
- Mac running the latest MacOS
- iPad running the latest iPadOS
- Both devices on signed into the same iCloud account
- Both devices on the same wifi network
- Both devices within 30 feet of eachother (ideally)
For my example I am using the M4 Mac mini and the M4 iPad Pro running ther respectively latest operating systems. Once you have all the items lined up, its extremely easy to do this.
- Make sure both devices are on
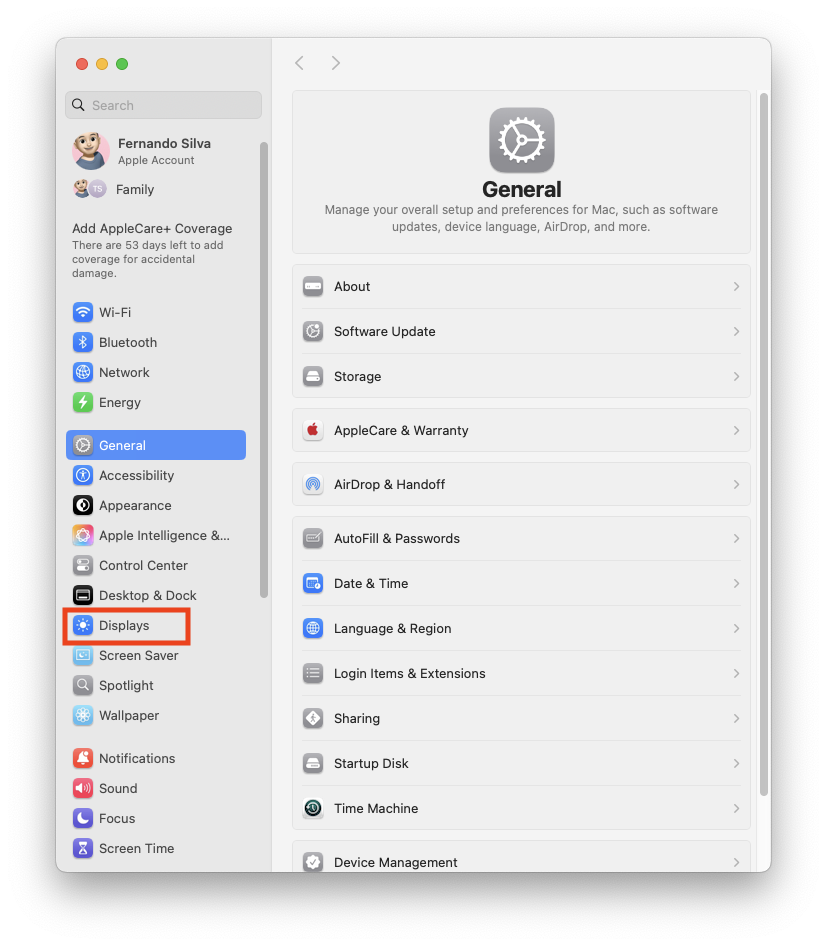
- Open system settings
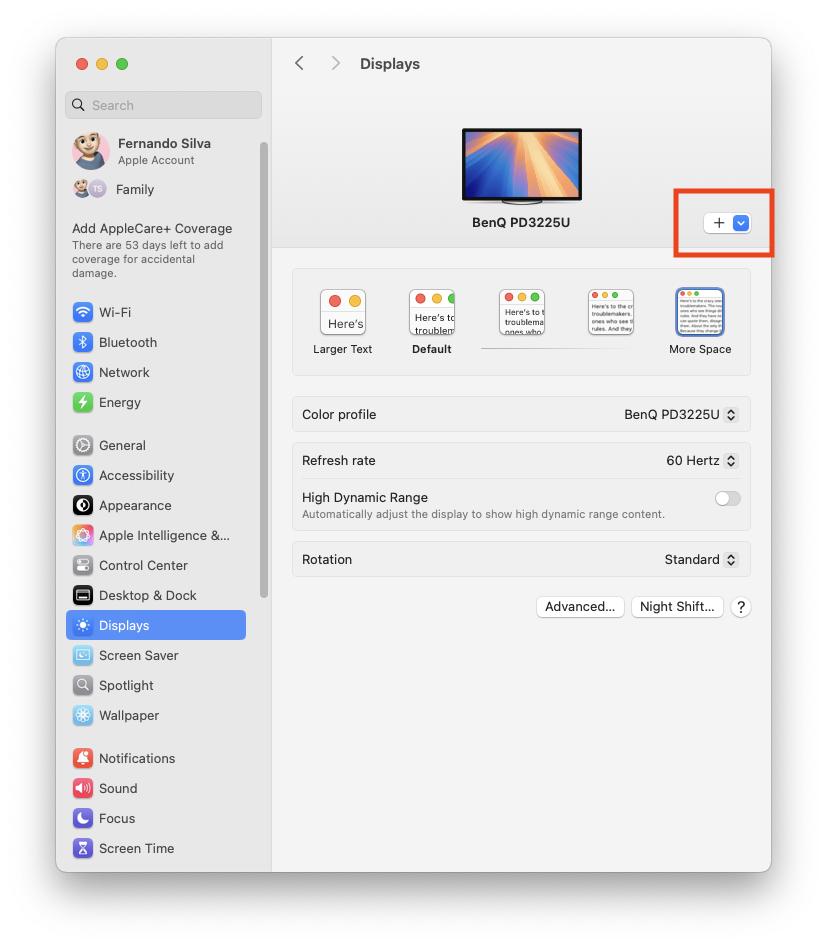
- Tap Displays
- Tap the “+” icon
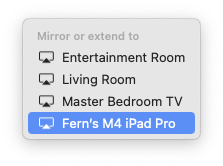
- Under “mirror or extend to”, tap on your iPad
- Now you can use your iPad as the main, extended or mirrored display!
It works amazingly for those that want to make their iPad their center hub of their MacOS desk setup. There is little to no latency, works fluidily and gives you a graet idea as to how MacOS feels on the iPad Pro. For those wondering, the touchscreen does work but works like a mouse would work. If you are connected to your ipad Magic Keyboard the keyboard portion works, but the track pad does not.
But, as i said above, you need an actual display to get this all setup first. The true way to use your iPad as a dedicated mobile display is with method one!
Final thoughts
Spending $20 on a capture card to use your iPad as a display for your Mac mini is a no-brainer for me. The first thought that comes to mind is travel, especially road trips or even taking it on vacation. You can take this to a coffee shop, a co worker space, there are so many incredible possibilities, and that’s another reason why iPads are the most versatile computers available.
What are your thoughts? Would you consider doing this? Let’s discuss this in the comments below!
FTC: We use income earning auto affiliate links. More.
 1 week ago
2




 English (US) ·